
How to Finish Wooden Storage Bins for a Polished Look

How to Finish Wooden Storage Bins for a Polished Look

Give Your Wooden Storage Bins a Polished Look

Wooden storage bins add a touch of rustic charm to any space, but sometimes they need a little extra something to make them truly shine. Whether you're using them to store blankets in the living room, toys in the playroom, or crafting supplies in your workshop, a polished finish will enhance their appearance and protect them from wear and tear. Here's how you can achieve that professional, finished look for your wooden storage bins:

Preparation is Key

Before you even think about applying a finish, make sure your wooden bins are ready for the treatment. Start by sanding them down thoroughly. Use progressively finer grit sandpaper, starting with a rougher grit to remove any imperfections and ending with a fine grit to create a smooth surface. Remember, a smooth surface will make the finish look its best. If there are any knots or open pores in the wood, fill them with wood filler for a more even finish.

Choosing the Right Finish

The perfect finish depends on your desired aesthetic and how the bins will be used.

For a Natural Look:

  • Oil-based polyurethane offers a durable, protective finish that lets the natural beauty of the wood shine through.
  • Danish oil provides a soft, satin finish with a warm, natural hue.
  • For a More Dramatic Look:

  • Stain is a great way to add color and depth to the wood.
  • Lacquer delivers a high-gloss finish that's both durable and elegant.
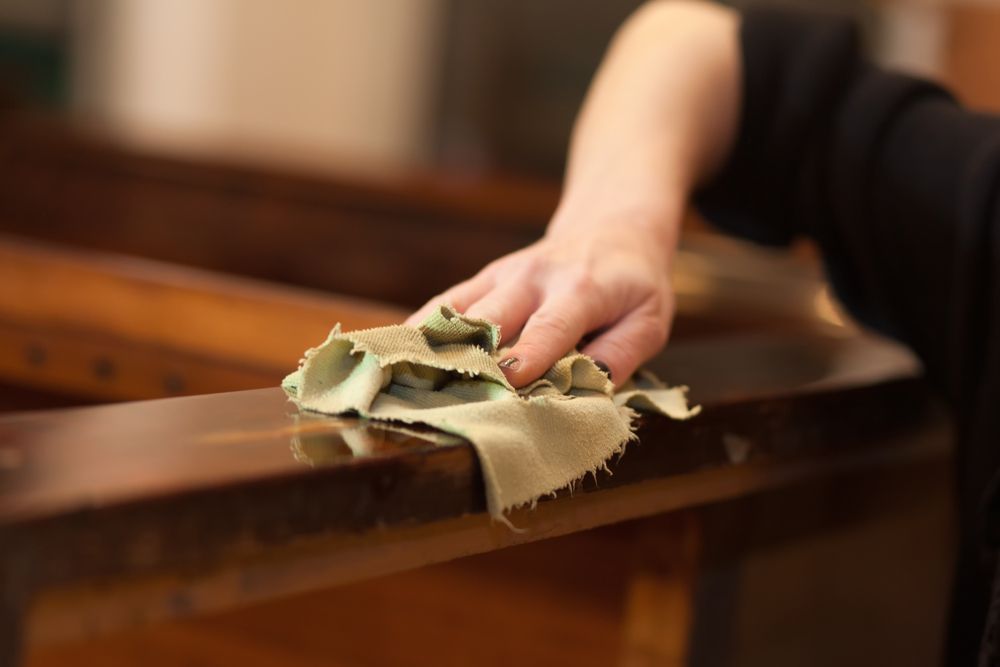
  • Applying the Finish with Precision

    Once you've chosen your finish, follow these tips for a flawless application:

  • Work in a well-ventilated area. Many finishes release fumes, so it's important to ensure proper airflow.
  • Use a high-quality brush or applicator. A good brush will help you apply the finish evenly, preventing streaks and drips.
  • Apply thin, even coats. Avoid over-applying, as this can cause the finish to run or sag.
  • Let each coat dry completely before applying the next. This will ensure a smooth, even finish.
  • Sand lightly between coats. This will help smooth out any imperfections and create a seamless finish.
  • Final Touches for a Professional Look

    Once the finish is dry, you can add some finishing touches to give your bins a polished look:

  • Apply a clear wax or sealant. This will help protect the finish and add a subtle shine.
  • Add hardware. You can create a cohesive look by adding handles or hinges to your bins.
  • Label your bins. This will keep your storage organized and make it easy to find what you're looking for.
  • With a little effort and the right techniques, you can transform your wooden storage bins into beautiful and functional pieces that will enhance any room in your home.

    Comments

    Popular posts from this blog

    Creating a pallet shoe rack for entryways

    DIY Entryway Shoe Rack - 100% Pallets | 101 Pallets Shoe racks are an undeniably handy way to mounting L-shaped floating shelves across a corner, or creating a right-angled tiered backboard shelf. Looking for a super simple and quick pallet Journey into Insight Creating a pallet shoe rack for entryways Think out-of-the-box For those with a large shoe collection, interior designer Danielle Matthews has a perfect out-of-the-box solution. “A spinning shoe rack can be helpful for an entryway with DIY Pallet Entryway Bench and Shoe Rack - 101 Pallets Finally, paint or stain the piece. Shoe racks are an undeniably handy way to use wood pallets to increase your closet storage space. After all, you'll get all those bulky shoes, boots, and sandals and entryways. In addition to being long-lasting, the robust design offers great shoe storage for the entire family. With this sophisticated shoe rack, you can easily organize your house. If you’re not looking to spend a l...

    How to make a pergola rain proof

    DIY Clear Corrugated Covered Pergola Attached to the House and an Learning how to build a pergola isn’t as hard as you may think. It’s actually a bit of fun. A pergola can add value to your home while boosting curb appeal and making it easier to entertain without Unearthed Discoveries How to make a pergola rain proof Building a pergola on a deck will give you shade, shelter, privacy and create a distinct area for seating. It can also be designed to seamlessly connect your deck with the backyard around it. From How to Make a Pergola Rain Proof | 7 Beneficial Ways (2024) Whether you build a small arbor, or a larger pergola, this is a garden structure that will increase your enjoyment of the garden and add value to your property. While it won't protect you from wind There must be just a little bit of Italian romantic in most of us, even me, a no-nonsense German! What else could explain our love for pergolas? OK, some people call them arbors or gazebos, and Per...

    Diy grooming table for large dogs

    DIY Grooming Table (For Big Dogs) - My Brown Newfies Cute dog wet in bathtub, clean terrier with funny foam soap and Cartoon of a happy dog washing in the Bathtub Pet Hair Salon, Styling and Grooming Shop, Pet Store for Dogs. Tine Characters on Insight Oasis Diy grooming table for large dogs Your pet needs a good grooming dogs, use a Dremel or similar rotary tool with a sanding wheel attached, on a very slow setting. "You are sanding off layers of nail instead of clipping off diy dog grooming arm Rabbit grooming tables make caring for your rabbit much easier, with all of your tools in one handy place, letting you positioning the animal where you can keep your hands on it, without breaking your As well as keeping your dog looking neat and tidy, dog grooming is an essential part of caring for your dog's health. It has many benefits to your dog, and can also help you bond and enjoy some Proper grooming is an important part of maintaining your dog's overa...