Alright, so you're itching to build a workbench, huh? Good on ya! It's like having a personal fortress for all your projects. But before you go whacking lumber, let's talk strategy. Choosing the right wood isn't just about picking what looks nice, it's about building a table that'll withstand the wear and tear of whatever creative chaos you throw at it.
Why Wood Matters
Think of it like choosing the right tool for the job. You wouldn't use a butter knife to chop wood, would you? (Unless you're a really dedicated butter knife enthusiast, in which case, more power to ya!) Same deal with your workbench. You need wood that's strong, sturdy, and won't break your heart (or your budget) when you inevitably drop a hammer on it.
The Wood Whisperers: Your Top Choices
Red Oak: The classic, the reliable, the champion of workbench construction. Strong, durable, and takes a beautiful finish. It's like the Brad Pitt of lumber â€" good-looking and dependable. Downside? Can be a bit pricier than some other options.
Maple: Another top contender, known for its hardness and resistance to scratches. Think of it as the Denzel Washington of woods: tough, elegant, and always delivers. Just be aware, it can be harder to work with than oak, and it might not have the same grain patterns that some folks love.
Hard Maple: The Dwayne "The Rock" Johnson of hardwoods: incredibly strong and resistant to wear. This is the go-to choice for heavy-duty workbenches that will see a lot of abuse. But, it's also the pricier option, so be ready to make a commitment.
Pine: The budget-friendly option, perfect for first-time builders or those working with smaller budgets. Pine is soft and easy to work with, but it's also more susceptible to dents and scratches. Think of it as the Chris Pratt of woods: a bit lighter, but still a fun and useful option.
Softwoods: Don't write off all softwoods! Cedar, fir, spruce â€" these can all be great choices if you're looking for a lighter workbench or something with a specific aesthetic. They're less expensive than hardwoods, but remember they'll be more prone to dings and scratches.
How to Choose: A Guide for the DIYer
1. What's your budget? Hardwoods are generally more expensive than softwoods. Don't be afraid to mix and match - use a hardwood for the top and a softwood for the legs, for example.
2. How heavy-duty will your workbench be? If you're planning on using it for heavy tasks like woodworking, consider hardwoods. If you're building something for crafts or light assembly, softwoods can be a great option.
3. What aesthetic are you going for? Do you want a rustic look, a modern look, or something in between? Consider the different grain patterns and colors of different woods.
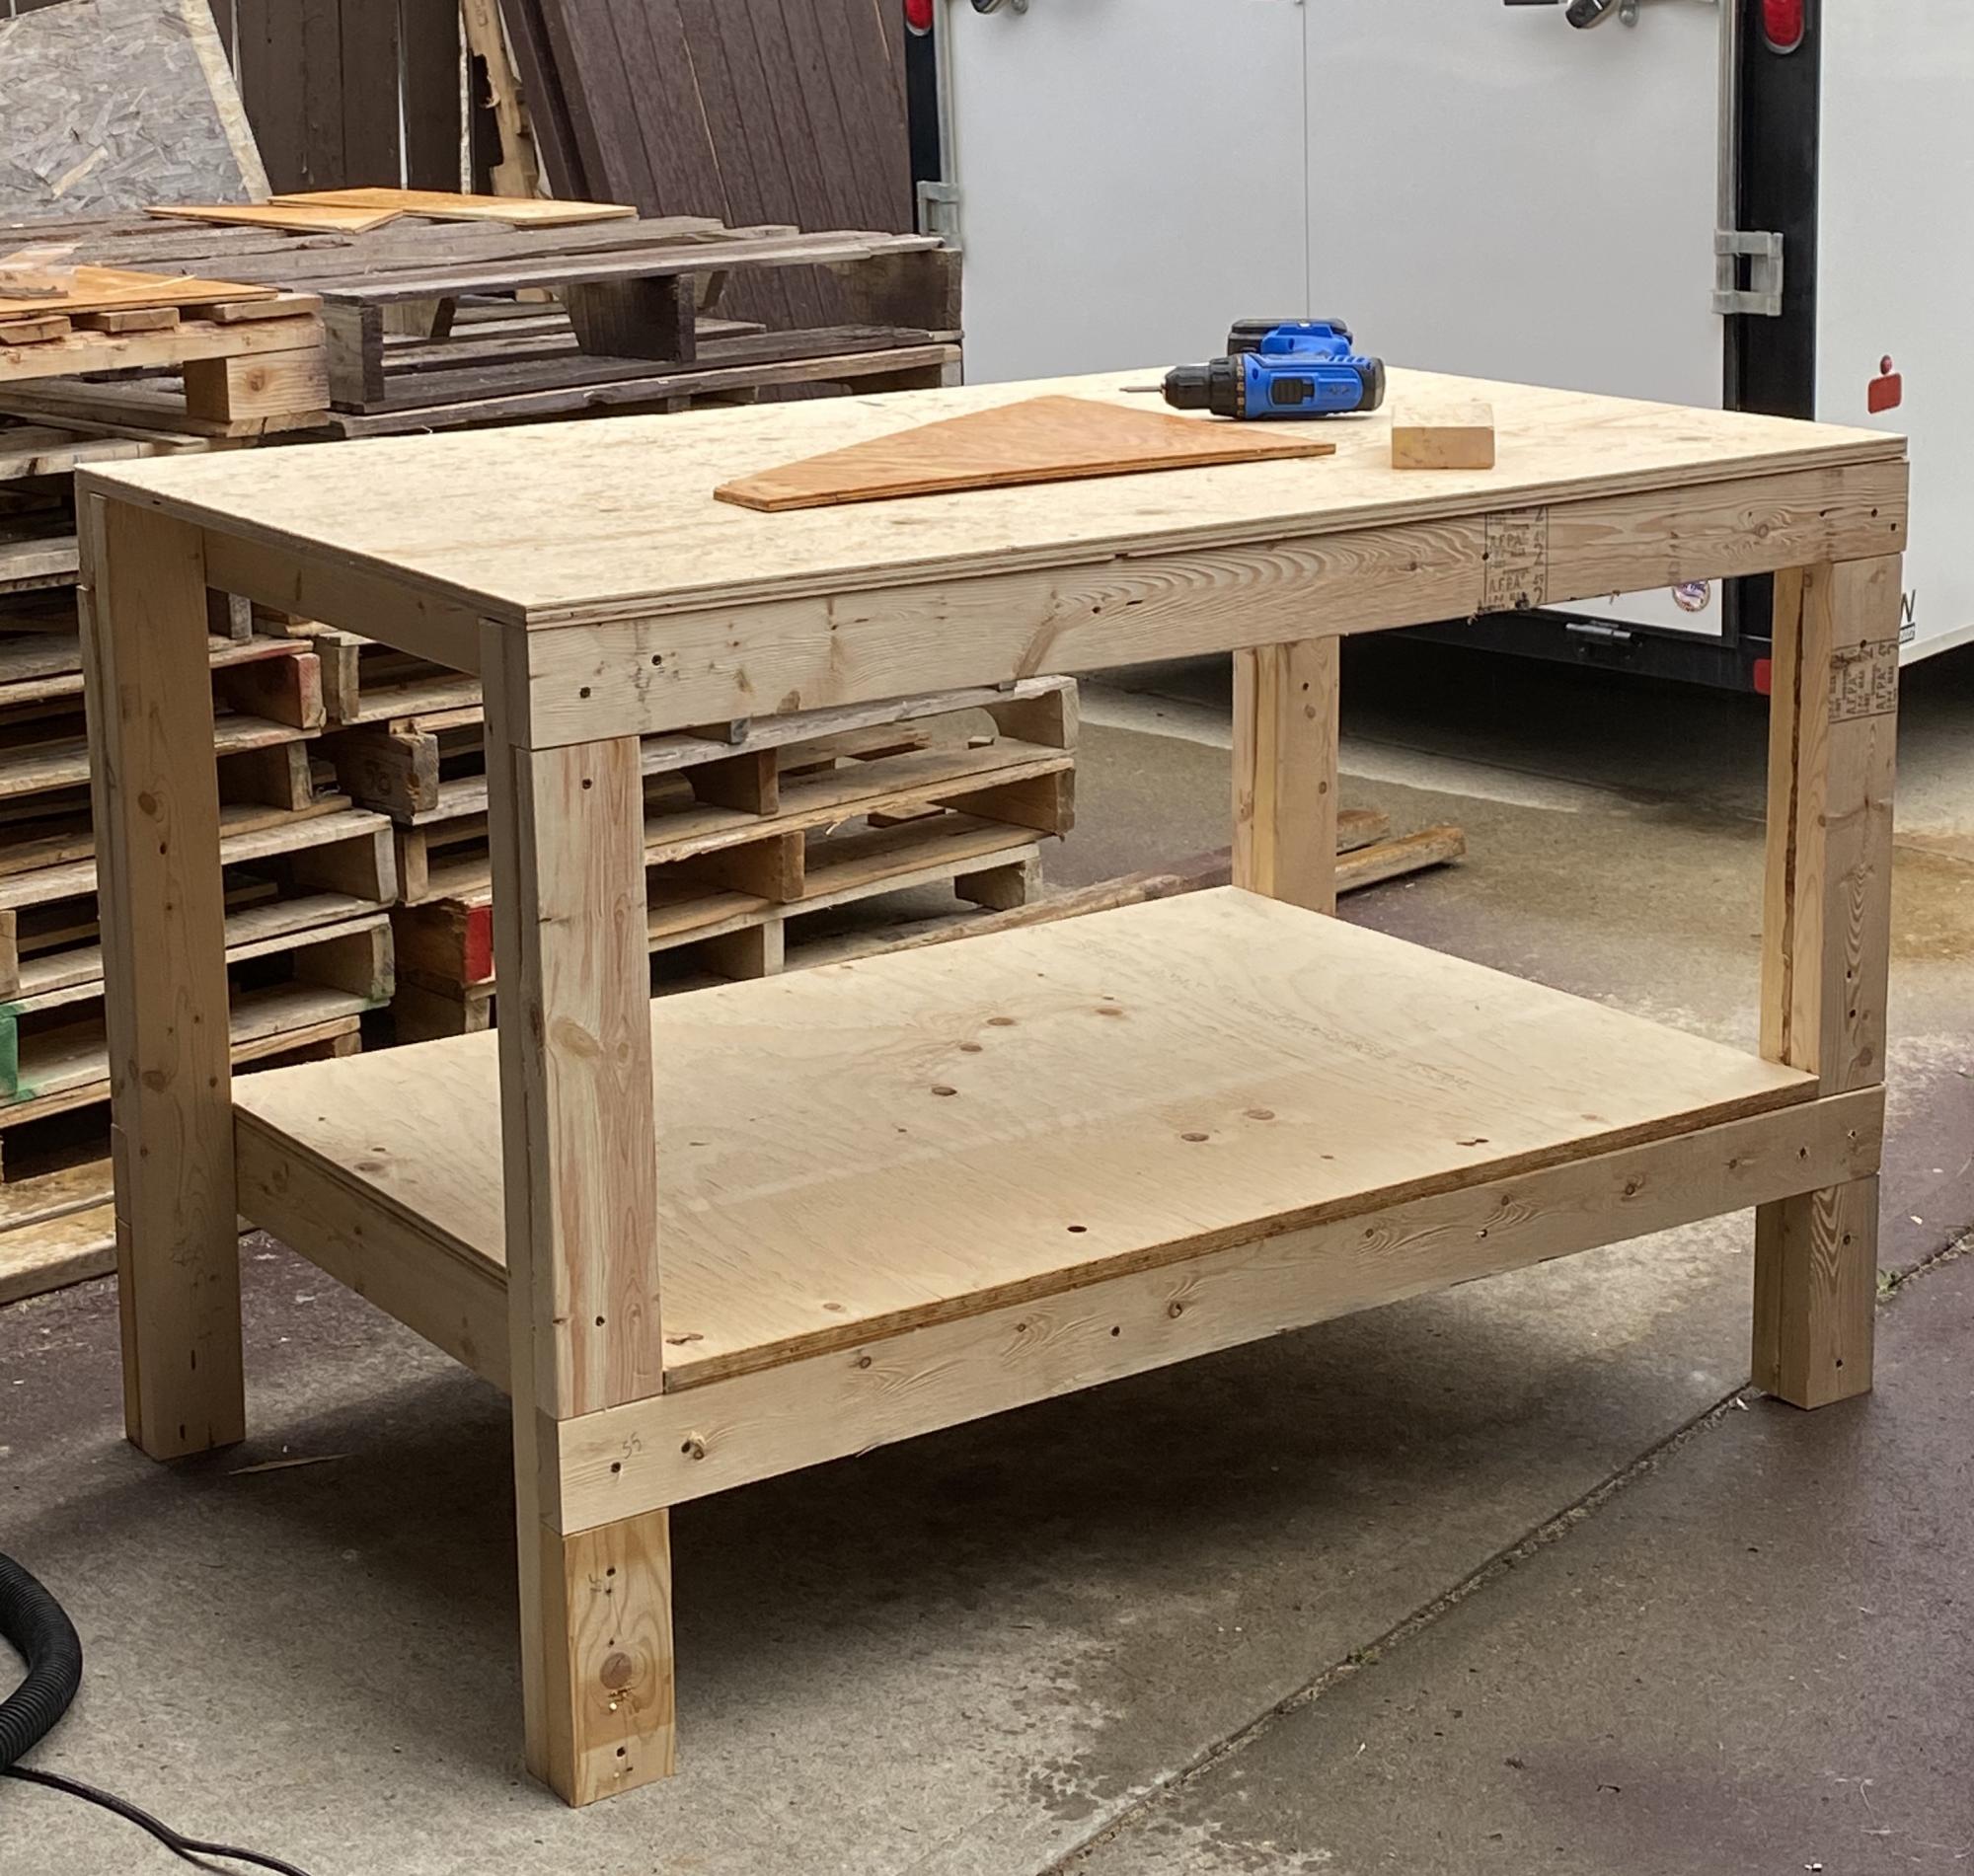
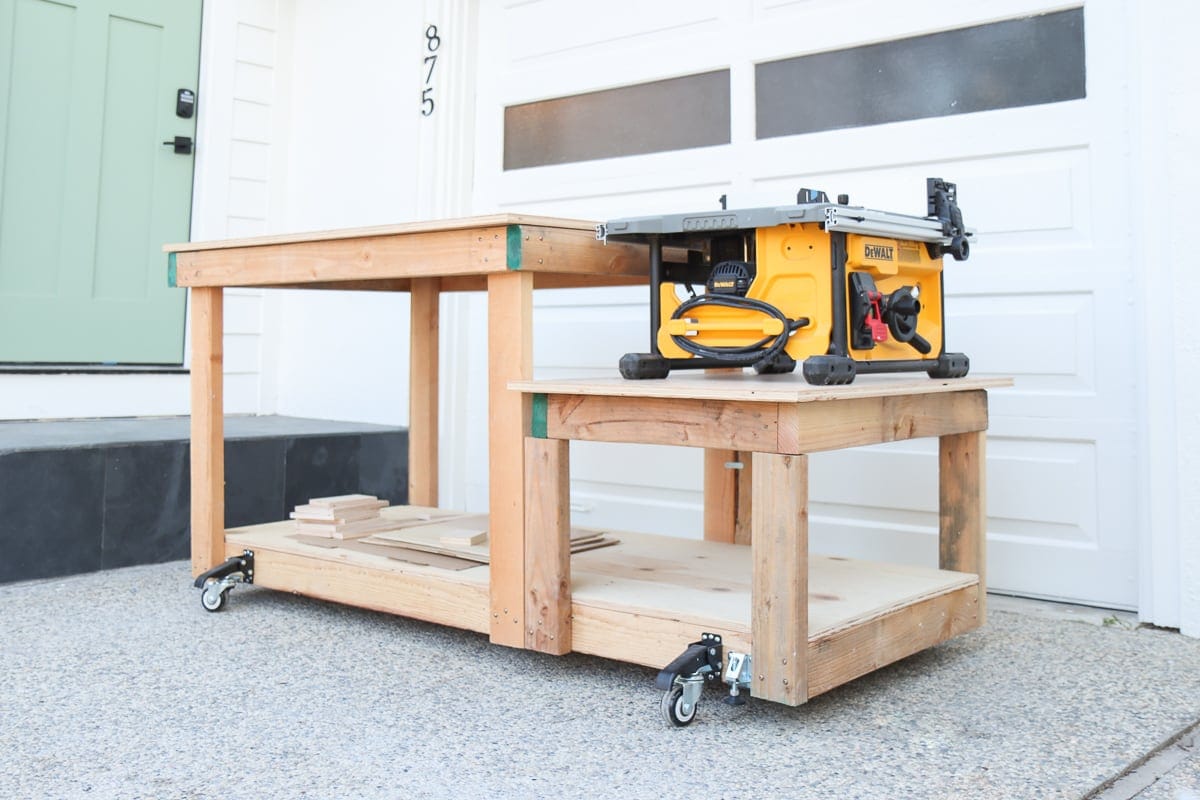
Building a Workbench: Getting Your Hands Dirty
Once you've chosen your wood, it's time to get down to business. Remember, this is your workbench, so customize it to your needs and style!
1. Plan it out: Draw up a basic plan, sketch out the dimensions, and think about how you'll use your workbench. This is your roadmap to success!
2. Cut and assemble: Use a circular saw or table saw to cut your lumber to size. You'll need to assemble the legs, frame, and top. Make sure you have sturdy support to prevent sag.
3. Reinforce: Add bracing and supports to make your workbench strong and stable. Consider using metal connectors or even steel rods to give it extra oomph.
4. Finish it off: Sand down your workbench to get a smooth finish. Then, stain, paint, or apply a sealant to protect it from wear and tear.
Go Forth and Build!
There you have it! You've got the tools, the knowledge, and the passion to build a fantastic workbench. Now, get out there, let your creativity flow, and unleash your inner DIYer. Just remember to keep those fingers out of the way of that saw!
Comments
Post a Comment