DIY Bedside Cabinet: Modern and Functional Designs with PDF Guide
Hey there, design enthusiasts! Are you tired of those boring, generic bedside cabinets? Craving a touch of modern elegance in your bedroom sanctuary? Well, get ready to unleash your inner DIY master because we're about to embark on a journey to create a bedside cabinet that's not just functional but a true statement piece.
Building your own bedside cabinet offers a whole new level of satisfaction. You get to choose the perfect size, style, and materials to fit your bedroom aesthetic. And let's be honest, the sense of accomplishment when you're finally admiring your creation is pretty darn rewarding.
Get Ready to Level Up Your DIY Skills
Whether you're a seasoned DIYer or just dipping your toes into the world of woodworking, we've got you covered. We'll break down the steps in a way that's easy to follow, even if you've never picked up a saw before. And don't worry about needing fancy tools â€" we'll work with materials and methods that are accessible to everyone.
Let's Talk About the Design
First things first, let's talk about the design. Do you envision a sleek minimalist cabinet with clean lines and open shelves? Or perhaps a more intricate design with drawers and hidden compartments? The possibilities are endless!
To get your creative juices flowing, we've put together a few modern and functional designs that you can adapt to your liking:
Design Option 1: The Minimalist Marvel
This design is all about clean lines and simplicity. Think a narrow rectangular frame with open shelves and a slim top surface. It's perfect for small bedrooms and those who value a minimalist aesthetic.
Design Option 2: The Functional Wonder
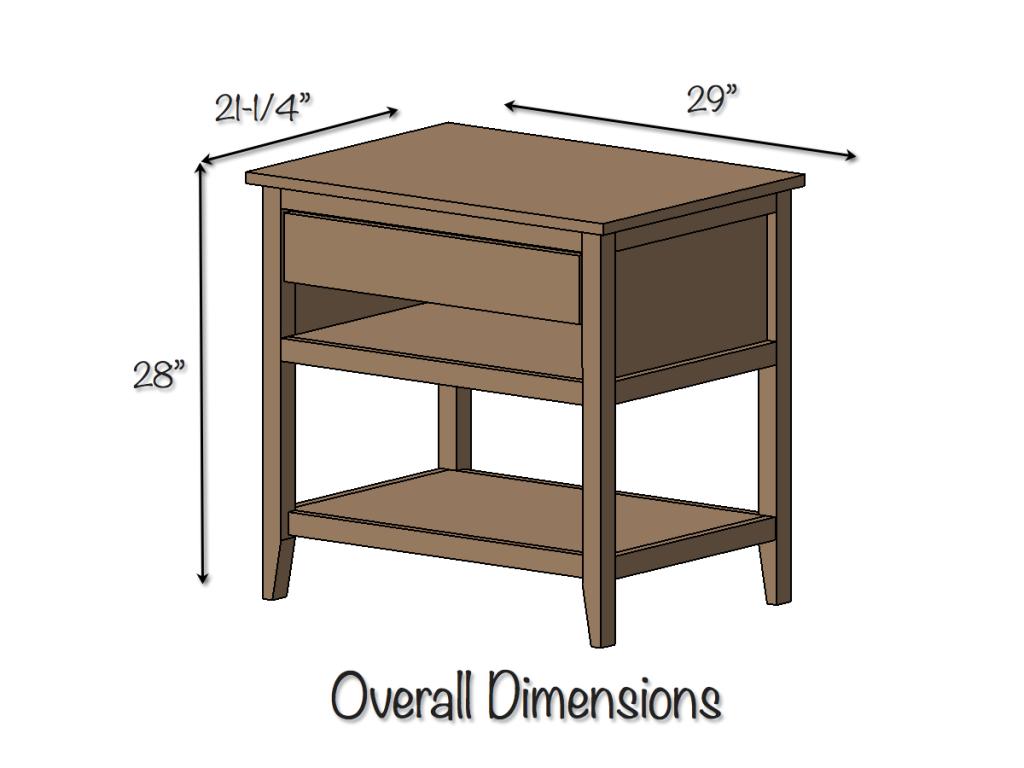
This design offers a blend of style and practicality. It includes both open shelves and drawers for storing books, bedside essentials, and other treasures. The drawers can be added with simple slide-out mechanisms or even with a more intricate dovetail construction if you're feeling ambitious.
Design Option 3: The Floating Chic
Looking for a touch of modern drama? This design features a cabinet that appears to float against the wall. It creates a sense of lightness and visual interest in the room. It's a little more challenging but the end result is worth the effort. You'll need to use sturdy brackets and ensure your wall is strong enough to support the weight of the cabinet.
Gathering Your Supplies: Let's Build a Dream
Now that you've chosen your design, it's time to gather your supplies. Here's a list of essentials:
- Wood: Plywood, MDF, or solid wood â€" choose based on your budget and desired style.
- Cutting Tools: Saw, jigsaw, miter saw (optional), hand saw
- Hardware: Screws, hinges, drawer slides, brackets (for floating design), knobs/handles
- Finishing Supplies: Wood glue, sandpaper, stain or paint, primer (optional), sealant (optional)
- Safety Gear: Safety glasses, ear protection, dust mask, work gloves
Building Your Bedside Cabinet: Step-by-Step
Alright, let's dive into the construction! We'll provide a general framework for building your bedside cabinet, but you'll want to adjust the dimensions and details based on your chosen design.
Step 1: Cut the Wood
This is where your cutting tools come into play. Cut the wood according to your design plan. Double-check your measurements and make sure you've accounted for any necessary joinery (like rabbets or dadoes for the shelves and drawer) .
Step 2: Assemble the Cabinet Frame
Using wood glue and screws, join the pieces of wood to create the frame of your cabinet. Ensure all corners are square and aligned. Use clamps to hold the pieces in place while the glue dries.
Step 3: Add the Shelves (and Drawers)
If your design includes shelves, attach them to the cabinet frame. Make sure they're securely attached and level. If you're adding drawers, attach the drawer sides and bottom. Don't forget to add the drawer slides before attaching the drawer face.
Step 4: Attach the Cabinet Back (Optional)
A back panel adds strength and can be useful for hiding wiring or creating a clean look. You can attach a back panel with screws or use a groove to create a flush fit.
Step 5: Finishing Touches: Sanding, Staining, or Painting
Once your cabinet is assembled, it's time to give it a polished look. Sand the entire surface of the cabinet to remove any imperfections. If you're staining the wood, apply a wood stain and allow it to dry completely. For a painted finish, apply primer and then paint the cabinet with your chosen color.
Step 6: Hardware Installation
This is the fun part! Attach knobs or handles to your drawers and doors, if you're using them. Install any brackets needed for your design, and give your finished cabinet a good cleaning.
PDF Guide: Download Your Detailed Instructions
We've prepared a comprehensive PDF guide with detailed instructions, diagrams, and tips to help you build your modern bedside cabinet. It includes all the specifics for each step, addressing any potential challenges or variations in design. Download it and start your DIY adventure!
You can access the PDF guide by [link to your PDF download page].
Finishing Touches: Making It Your Own
Once your cabinet is built, you can add those personalized details that make it truly unique. Think about incorporating elements like:
- Lighting: Add a small LED strip or a stylish table lamp to illuminate your bedside reading space.
- Unique Hardware: Go beyond standard knobs and handles. Think about adding vintage brass pulls, leather straps, or even decorative metal brackets.
- Personal Touches: Decorate the surface with a favorite photo, a small plant, or a beautiful book to make it a personal reflection of you.
Remember, DIY is all about having fun and expressing your creativity. Embrace the process, don't be afraid to experiment, and enjoy the journey of creating a beautiful and functional piece of furniture for your bedroom.
Comments
Post a Comment