Build Your Own Coffee Table: DIY PDF Plans for Free
Hey there, DIY enthusiasts! Are you looking to add a personal touch to your living room while saving some serious cash? Well, you've come to the right place! Building your own coffee table is a fantastic project that allows you to express your creativity and create a piece of furniture that perfectly complements your style. And guess what? It's not as intimidating as you might think.
In this guide, we'll walk you through the entire process of building a coffee table, from choosing the right materials to assembling the finished product. We'll also provide you with free downloadable PDF plans to make your project even easier. So, grab your tools, put on your favorite playlist, and let's get started!
Choosing Your Coffee Table Style
Before diving into the nitty-gritty, let's decide on the style of coffee table you want to build. This is your chance to get creative and express your personal taste.
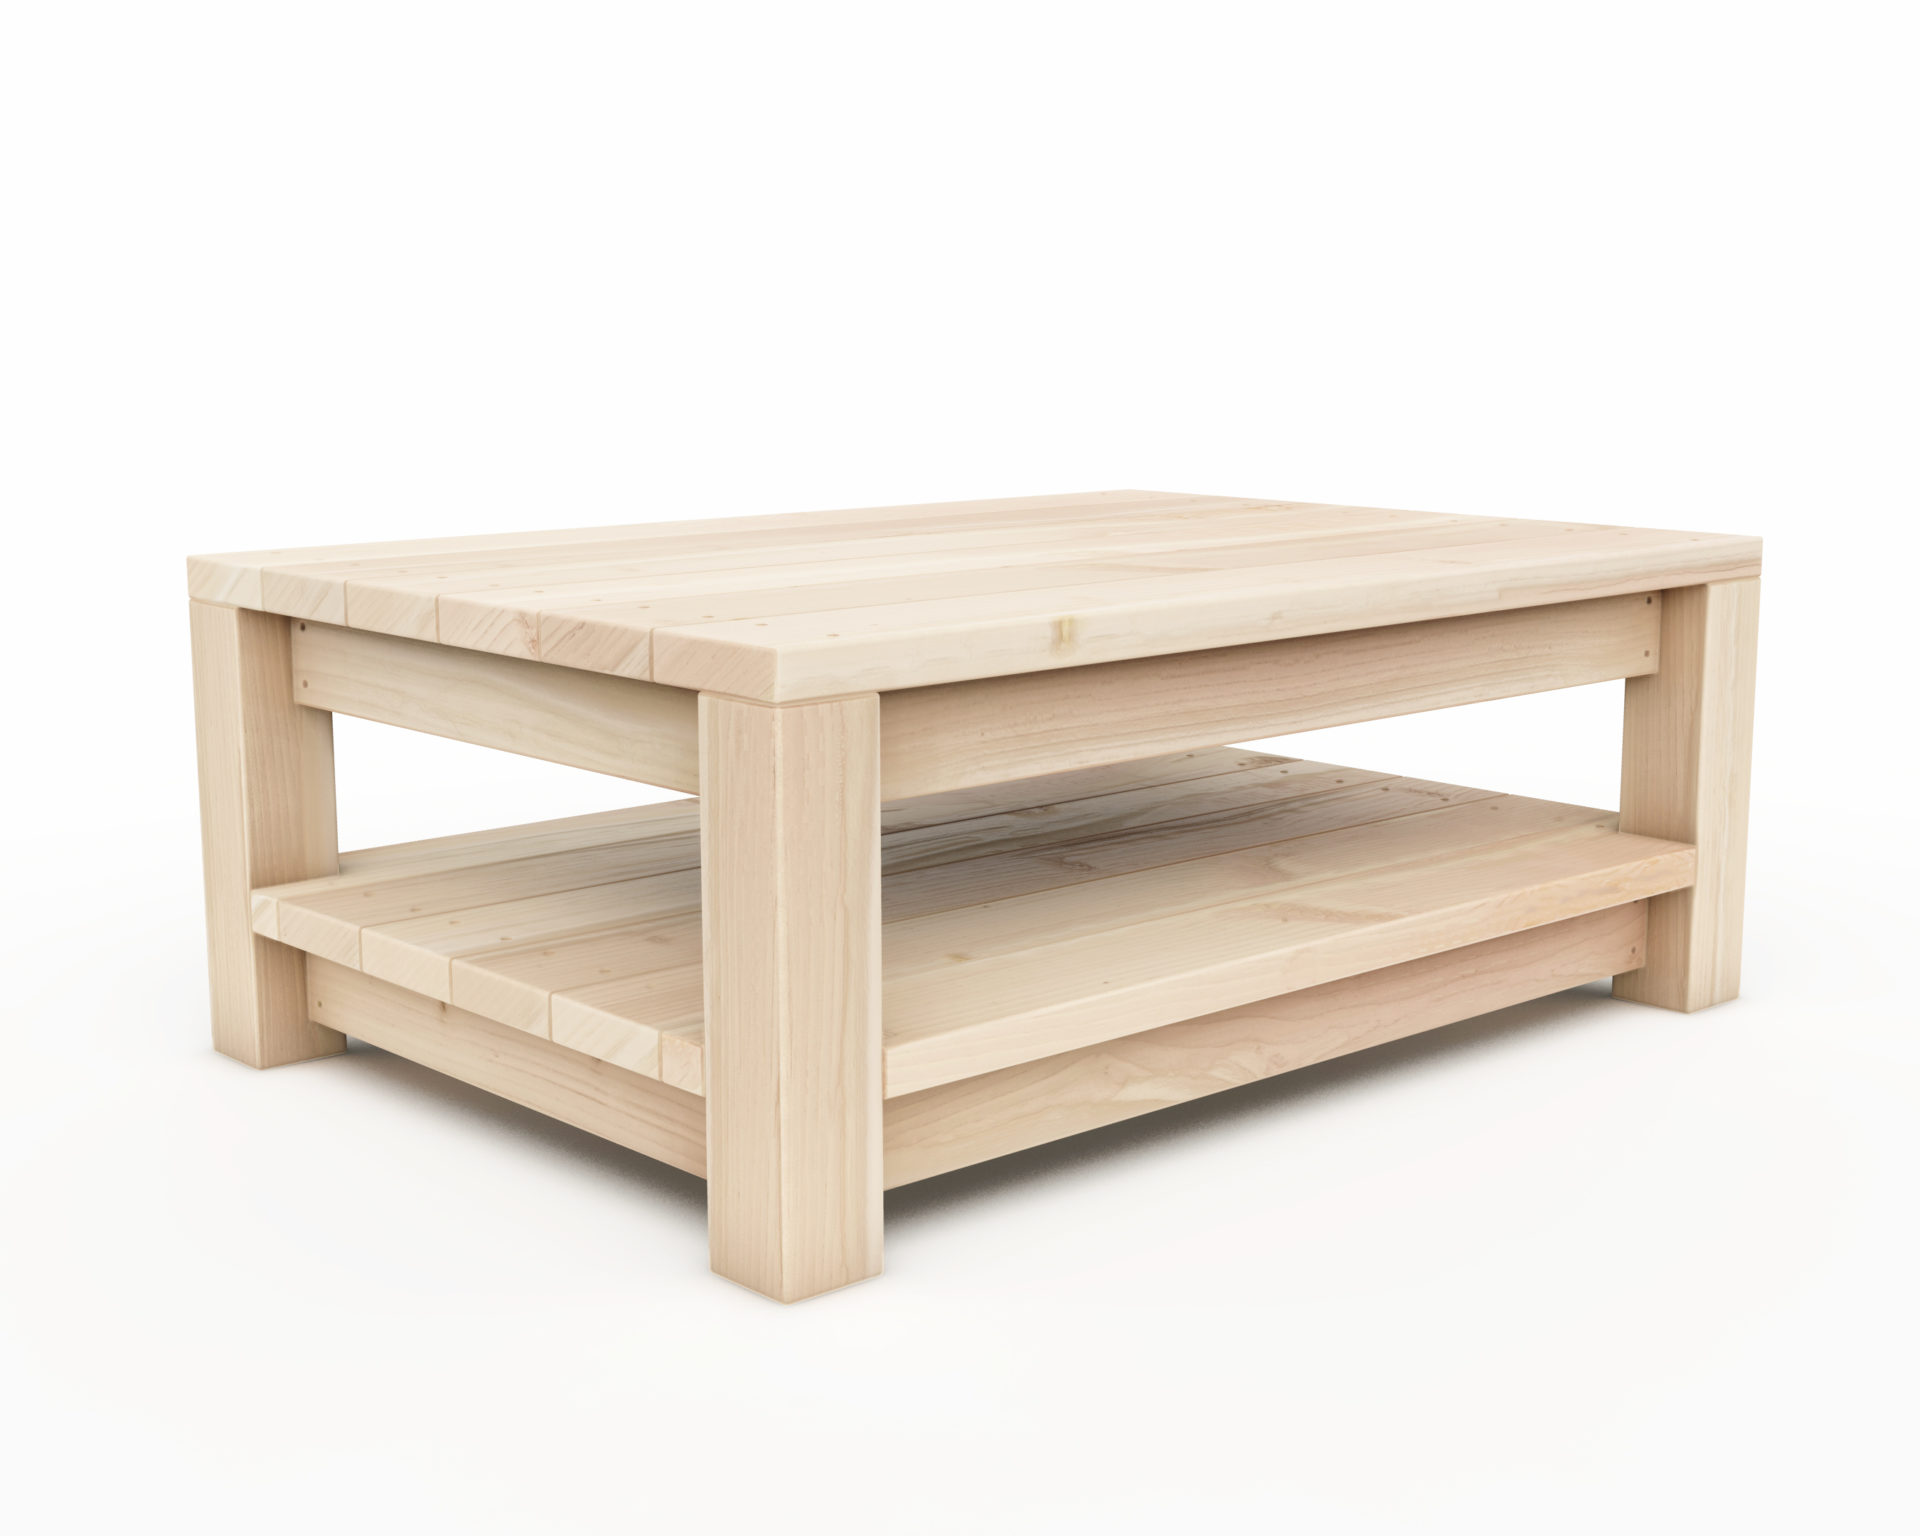
Classic and Timeless
For a timeless look, consider building a traditional coffee table with clean lines and a simple design. Think of a rectangular table with a solid wood top and sturdy legs. This style blends seamlessly with any décor and never goes out of fashion.
Rustic Charm
If you're drawn to a more relaxed vibe, a rustic coffee table is a great option. Use reclaimed wood, distressed finishes, and simple hardware to create a cozy and inviting atmosphere. This style is perfect for those who want a touch of warmth and personality in their living room.
Modern Minimalism
For a contemporary feel, a modern coffee table with sleek lines and minimalist design is the way to go. Choose materials like metal, glass, or laminate for a clean and streamlined look. Opt for geometric shapes and avoid unnecessary ornamentation.
Industrial Chic
If you love the raw and edgy aesthetic, an industrial coffee table is perfect for you. Embrace exposed metal pipes, reclaimed wood, and a touch of vintage charm. This style adds a touch of urban coolness to any living room.
Essential Tools and Materials
Now that you have a general idea of the style, let's gather the necessary tools and materials.
Tools:
- Circular saw or table saw
- Drill
- Sander
- Measuring tape
- Level
- Clamps
- Hammer
- Screwdriver
- Safety goggles
- Dust mask
- Work gloves
Materials:
- Wood for the table top (consider using plywood, MDF, or solid wood)
- Wood for the legs (choose sturdy wood like oak, maple, or walnut)
- Wood glue
- Screws or nails
- Stain or paint (optional)
- Finishing oil or wax (optional)
DIY Coffee Table Plans for Free
We've got you covered with free downloadable PDF plans for a classic rectangular coffee table. These plans are designed to be easy to follow and include detailed instructions, dimensions, and diagrams. You'll find them here:
[Link to PDF Download]
Building Your Coffee Table: Step by Step
Alright, it's time to get your hands dirty! Here's a step-by-step guide to building your coffee table, using the free PDF plans as a reference:
Step 1: Cut the Wood
Using your saw, carefully cut the wood pieces to the dimensions specified in the plans. Remember to double-check your measurements before making any cuts!
Step 2: Sand the Wood
Smooth out any rough edges and imperfections by sanding all the wood surfaces. This will ensure a smooth finish for your table.
Step 3: Assemble the Legs
Follow the instructions in the plans to assemble the legs. This might involve using wood glue and screws or nails. Securely fasten the legs to create a sturdy base.
Step 4: Attach the Table Top
Once the legs are assembled, attach the table top. Use wood glue and screws or nails to create a strong and durable bond.
Step 5: Finish the Table
To protect and enhance the appearance of your coffee table, you can apply a finish. Choose a stain or paint that complements your chosen style. Apply a finishing oil or wax to enhance the natural beauty of the wood and provide a protective coating.
Adding a Personal Touch
Now that your coffee table is built, it's time to add your own personal flair! Here are a few ideas to make it truly unique:
- Incorporate Unique Hardware: Use interesting handles or drawer pulls to add a touch of personality.
- Add Decorative Details: Apply stencils, paint patterns, or carve designs into the wood to create a custom look.
- Use Reclaimed Wood: Give new life to old wood planks by using them for the table top or legs.
- Create a Statement Top: Use a contrasting material like glass, metal, or tile for the table top to create a striking focal point.
Final Touches and Enjoyment
Once your coffee table is finished, give it a final inspection to ensure everything is secure and to your liking. Then, proudly display it in your living room and enjoy the fruits of your labor!
Building your own coffee table is a rewarding experience that allows you to create a custom piece of furniture that reflects your style and adds a touch of personality to your home. Don't be afraid to experiment, get creative, and have fun with the process!
Comments
Post a Comment